What to do with the Eraser tool?

Most posts on Illustrator tools focus on the things they can do. I’m going to focus on what a tool can’t do.

The eraser attracts new users because it seems like it should be familiar from pixel-based software like PhotoShop and Paint. You draw things, you erase things — simple, right? But then of course the eraser becomes a large source of frustration, because it doesn’t work as you might expect. The reasons for this are found in some fundamental ways in which Illustrator works, which I’ll also go into. But first, a few scenarios where you might think an eraser tool would be useful.

Erase rounded path ends or mitered corners

Sometimes you’ll end up with path end caps protruding from the edge of your illustration, or an excessive miter jutting out that you’d like to lop off, and need a way to shave them.

Erase part of an art brush

Illustrator comes with a bunch of nice painterly brushes, but sometimes you’re going to want to cut back into them and selectively erase long tails or otherwise neaten them up. Maybe you’re used to doing similar things in PhotoShop.

Erase the stroke on one side of a square

Probably a common thought: how can I get rid of only one side of a square, or part of another shape? Seems logical to just erase it, right?

Some bad news

The bad news is that the eraser tool can’t do any of these things! Not exactly as described, anyway.

You might justifiably ask: what is the point of it then? What can it do? The answers will be, I’m afraid, disappointing for most. But first I’ll discuss why it can’t do these things. As I said earlier, it involves a core concept in Illustrator: the difference between Objects and Appearances.

Objects and Appearances

If you use Outline mode (found under the View menu, or Command/Control + Y), Illustrator presents you with the skeleton of whatever you’re drawing.
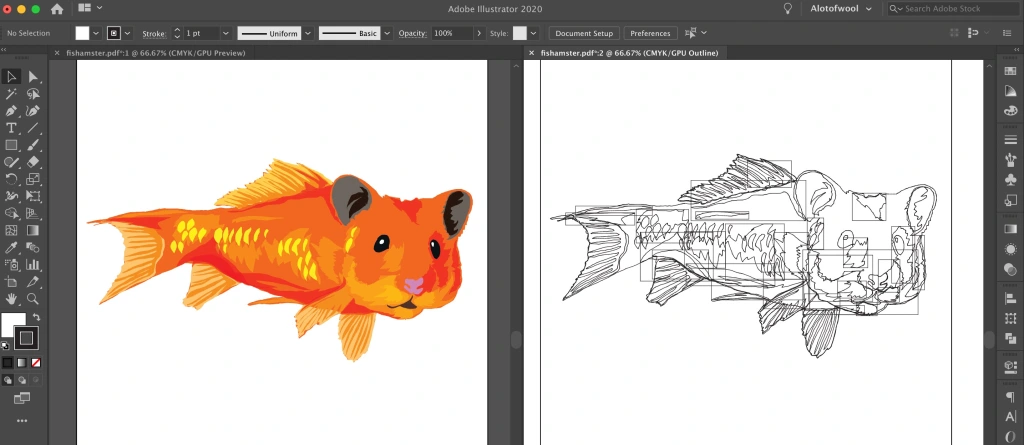
It’s a series of paths that have no visual information except a pixel-width line. The things you can no longer see are called appearances — everything you might find listed in the Appearance panel when you select an object. Consider this brush as another example:

The actual object here is the path going through the centre of the brushstroke; the brush itself is an appearance. What else is an appearance? Well, pretty much everything except the path: a fill, a stroke, a pattern brush, and a 3D extrude effect are all appearances. Almost everything you can see in Illustrator’s regular view mode (Preview) is an appearance.

As far as Illustrator is concerned, appearances aren’t ‘real’ objects — they only exist in relation to the path they’re applied to, and change dynamically as the object is moved or edited. You can nail them down by ‘expanding’ them, after which they become ‘real’ objects and can in turn have their own appearances applied. If I expand the brush above, I can then apply a brush to the outline of the brush, for instance.

How does this relate to the capabilities of the eraser? You might have already guessed, but just in case:

The eraser tool affects paths, not appearances.

It can’t affect a brush, a miter on a stroke, a rounded end, or anyting else that isn’t a path. You could erase parts of the underlying path in each of those situations, but the appearance would just be redrawn to match the new path. Let’s consider a few situations that commonly result in confusion for new users.

Problem 1: The eraser tool doesn’t erase my path cleanly

When you drag the eraser over a path, it creates a nice clean break — exactly what you’d expect from pixel software. But then you let go, and the nice clean break vanishes! It should be fairly clear what’s happened here from the second image. Your original path is quite thick and has rounded ends. The eraser has cut the path in two — and now you have two paths that have the same appearance as he first, including the rounded ends that encroach on the break you made.

This will also be true if you try and erase part of a path that has a brush applied:

Run the eraser through the centre of this path with an art brush applied, and you now have two shorter paths each with the same complete brushstroke.

Problem 2: The eraser draws on my objects!

You scrub over a filled object with the eraser, but it ends up like the image on the left. What’s up with that? Just as before, the eraser is gouging out sections of an object that has a thick black stroke and a magenta fill applied. Where it bisects the object, it’ll create other objects with the same stroke and fill, so it’ll almost appear to be creating things rather than erasing them.

There’s a quirk of this in that it affects closed objects without a fill in the exact same way — so it seems like you can draw in completely blank space with the eraser, if it’s inside a shape with a stroke applied! This was created just by scribbling in the centre of the square with the eraser:

You can see what’s happening if I apply color to the result (right): it’s created a compound path from the ‘erased’ part, and the central part inherits the stroke from the original object.

Problem 3: The eraser closes my paths!
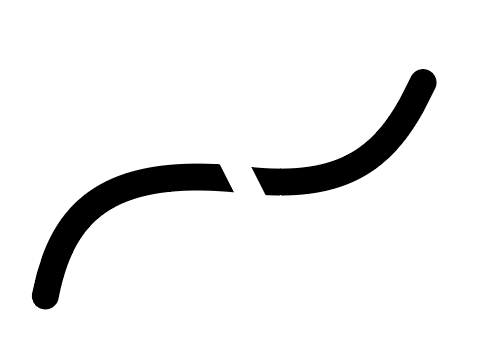
This only occurs if the original path has a fill (in this case a white fill). This is a common situation for new users because most Illustrator document profiles have a default graphic style that is a black stroke and white fill, and you might not notice the white fill unless you’re drawing on top of something. This is what the path looks like if we change the fill to red:

For some reason, instead of creating two open paths with the same fill and stroke, using the eraser unexpectedly closes the paths. I can’t think of a reason this would be desirable, but there it is.

So what is the eraser good for?

Very few situations, in my opinion. The common reasons a user might reach for the eraser tool in other software are best dealt with in Illustrator by masking, or as a last resort expanding appearances and directly editing them (but you’d better be certain that’s what you want before you do it).

If you’re dealing with objects that have a simple fill and no stroke or other appearance attributes to worry about, you might find it intuitive and simple to use the eraser. For instance, if you commonly paint with the blob brush, you might find the eraser a suitable counterpart. The blob brush is sort of like an eraser in reverse: it paints filled shapes with a calligraphic brush, which you could then cut back into with the eraser in predictable ways.

If you have an object selected, the eraser will only work on that, so it might be nice to neaten up your colouring under linework (if you have nothing selected, it’ll work on everything, so take care). But really, that’s about it.

Varying Transparencies in Live Paint

Something I hadn’t considered before it came up at work was that it might be useful to sometimes have areas of varying transparency in a single live paint group. Live paint is a useful shortcut in Illustrator that people probably take for granted now, but it was probably originally a way of making things in Illustrator a bit more Photoshop-like for newcomers. Before live paint, you’d probably construct everything you needed to fill as a closed path, which makes a bit of planning and close attention to the stacking order of objects essential for complex drawing. With live paint, you can just draw and let those things take care of themselves for the most part. Read up here if you’re unfamiliar.

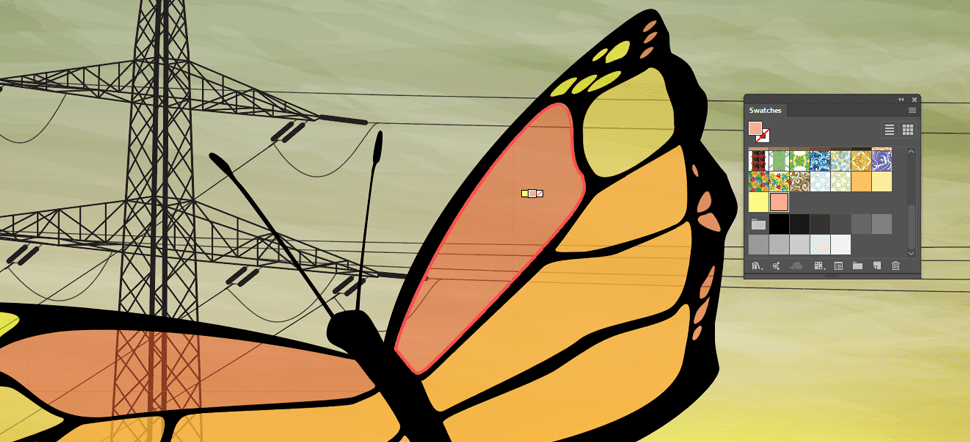
Anyway, one thing you can’t do without breaking your live paint group into separate closed paths is adjust the transparency of individual filled areas. Not in the usual way, at least. You can still select individual paths (and the fills themselves with the live paint selection tool), but if you look at the appearance panel you’ll find you still just have the live paint group selected — there’s no way to add a stroke to an individual path either. Take this giant butterfly:

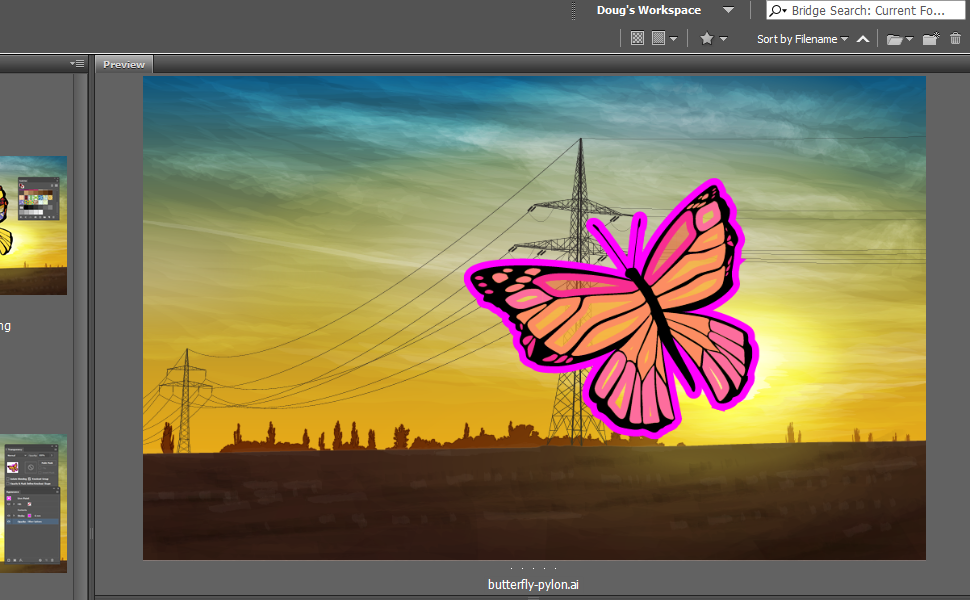
An image of a butterfly against a background of the sun setting behind pylons. This image will be used to demonstrate varying transparencies in live paint groups.

He’s a live paint group, of course. Say I wanted his colourful wing segments to appear transparent, but the dark areas to remain opaque. The first clue as to how you can go about this is here:

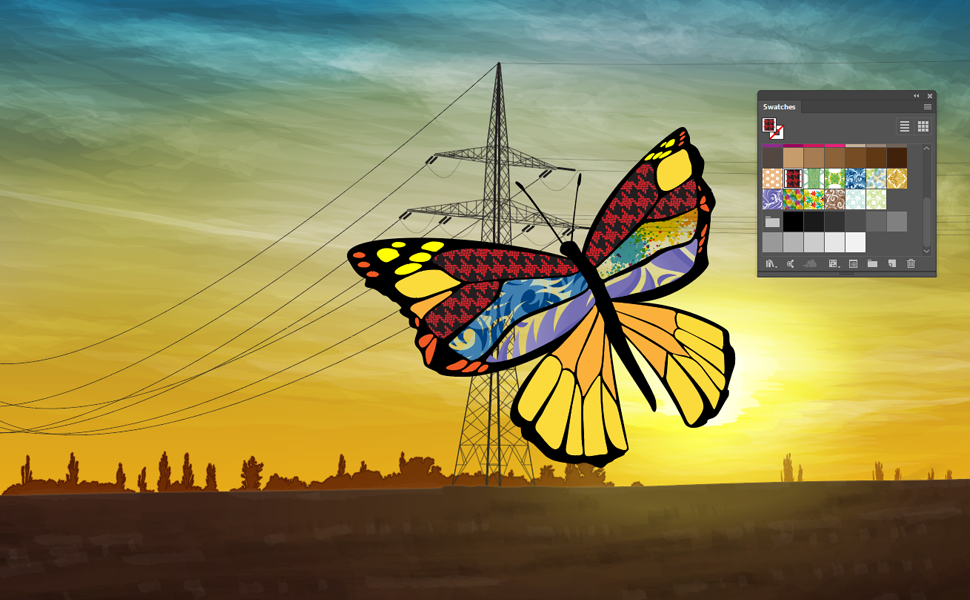
The butterfly image as a live paint group filled with various patterns

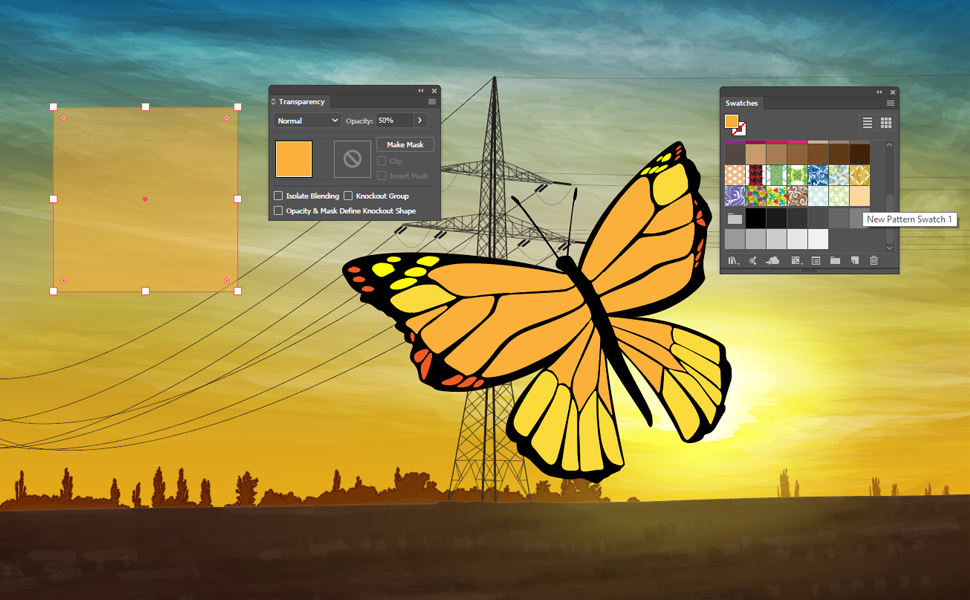
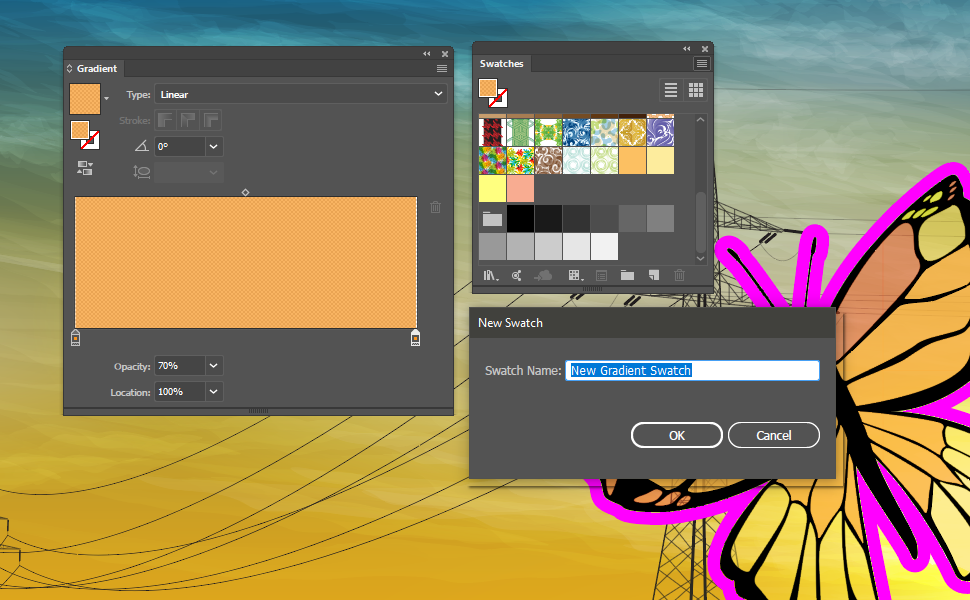
You can fill a live paint group with anything in the swatches panel, including patterns and gradients. Patterns can be transparent!  In fact, if you make a transparent filled object and drag it to swatches, a pattern swatch is what you get:

Creating a pattern swatch with transparency

It’s just colour; it’s only attribute as a pattern is that it has 50% opacity. So naturally, you create a set and colour away with the live paint bucket.

The butterfly live paint group, filled with some transparent pattern swatches

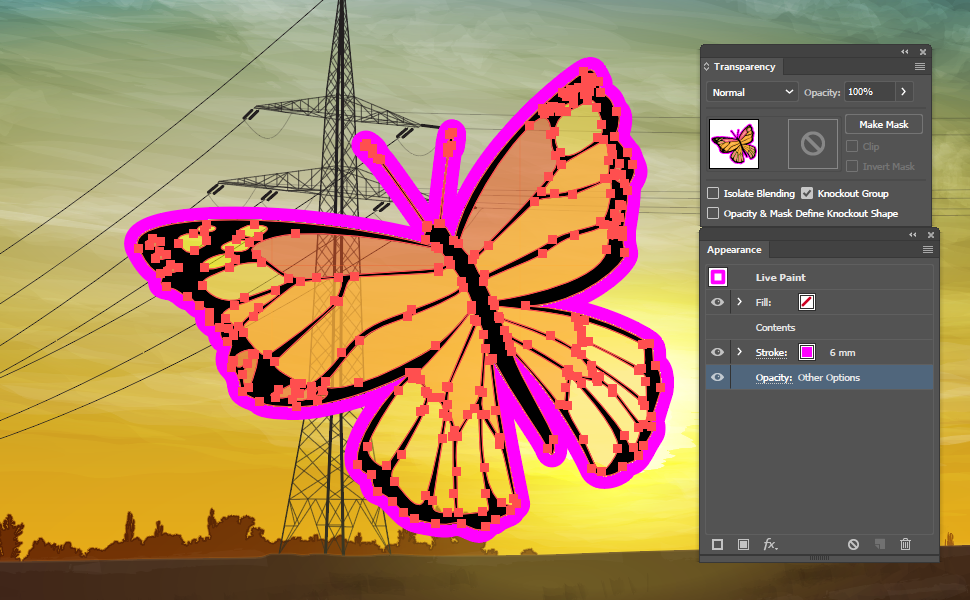
Looks delightful! However, there’s one pitfall I’ve found of this method. It’s quite a niche situation, but could be critical if you fall into that tiny niche and can’t figure out what’s wrong. Say you wanted to add a stroke around your butterfly. You’d add it in the appearance panel, drag it below the live paint contents so it doesn’t visually cover the whole group, and then set knockout group so it doesn’t show through the transparent areas (read more about the very useful option knockout group here).

butterfly-pylon5

Pretty silly, but that’s what you want for some reason. Looks fine in Illustrator, but you’ll get a hint as to what’s wrong with this if you check a preview of it in Bridge or your OS:

butterfly-pylon6

You can see the stroke through the transparent areas! Knockout group should prevent this, but for some reason it doesn’t. You’ll see the same thing if you place the AI file in InDesign, or if you export a raster file such as PNG. This is because other applications can only view the PDF side of the AI file, and while this method works fine in Illustrator, something evidently gets lost in the translation to PDF. This isn’t great news if you actually need to produce something using this method!

Fortunately, there’s another way. Remember that you can add gradients to the swatch panel too, and these can also contain transparency. Obviously you could have any combination of transparent gradient stops, but if you just want to replicate what we’ve made above, you’d need a gradient with two identical stops, with the same opacity setting.

butterfly-pylon7

A bit of a pain, and rather odd, But for whatever reason, this setup translates fine into the PDF, and makes an image created in this way usable elsewhere.

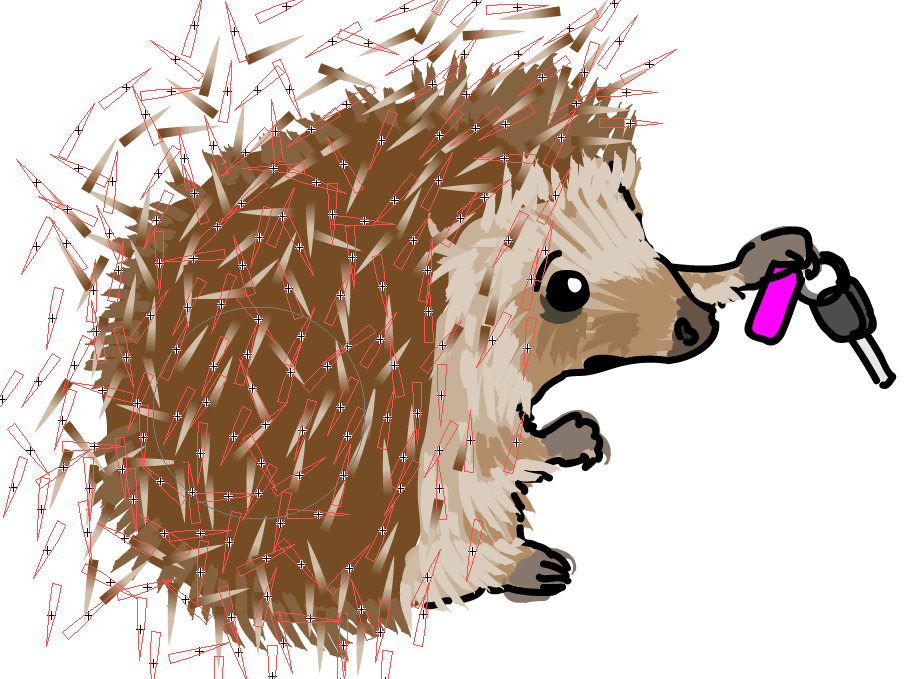
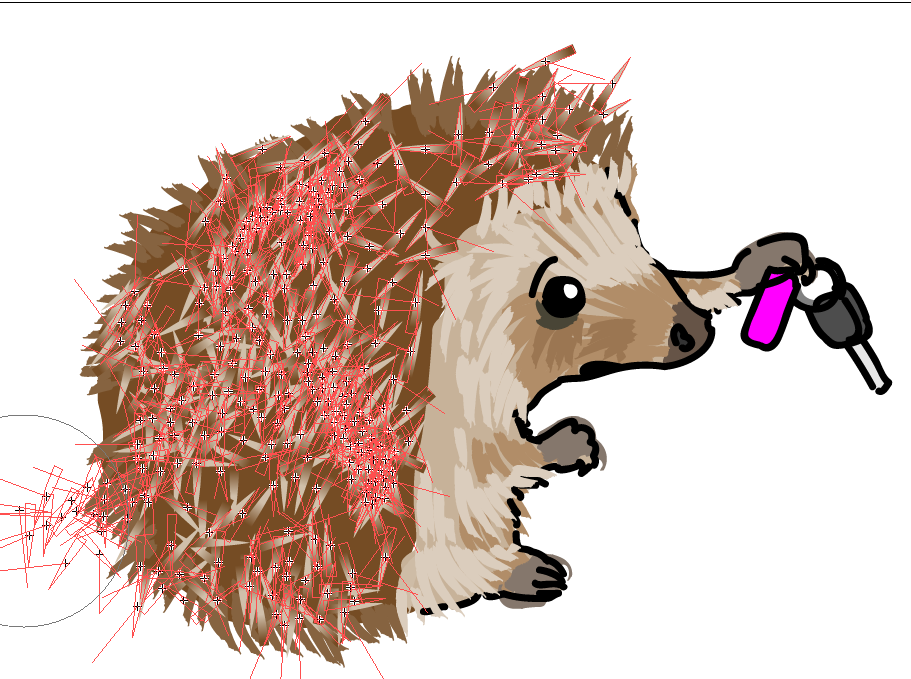
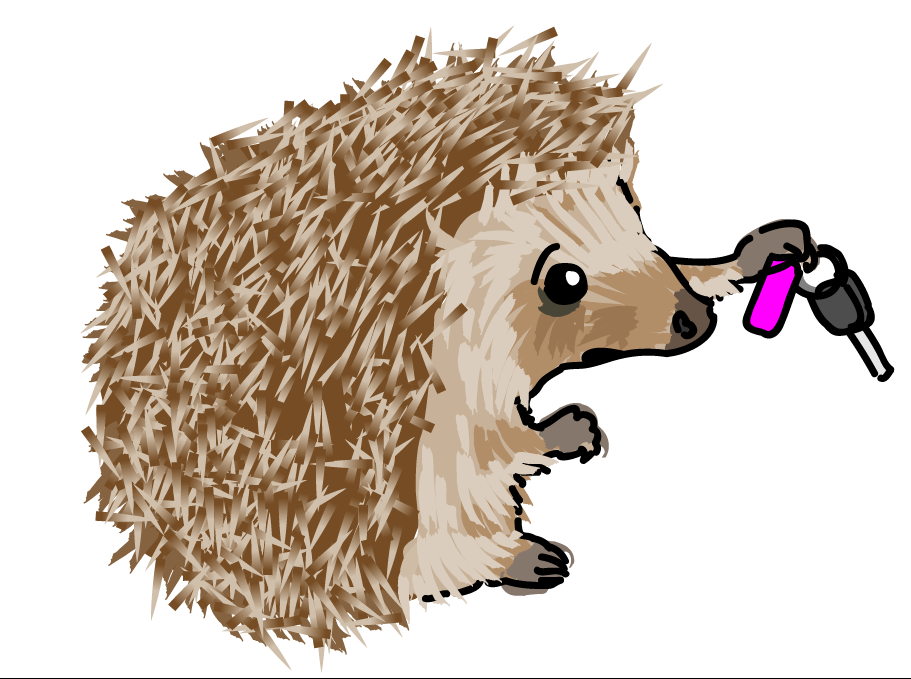
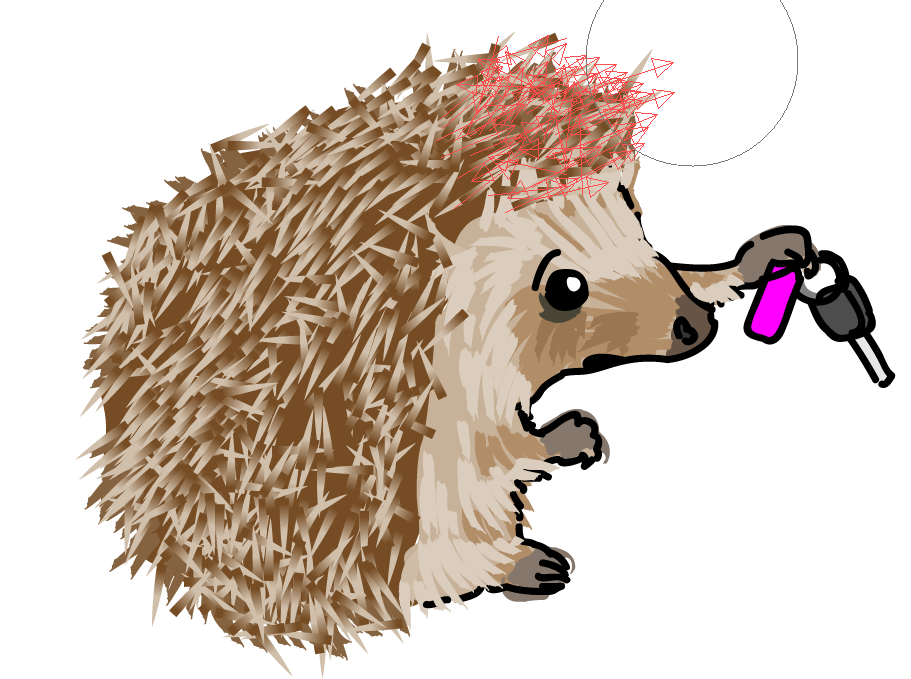
Spray the spines on to a hedgehog

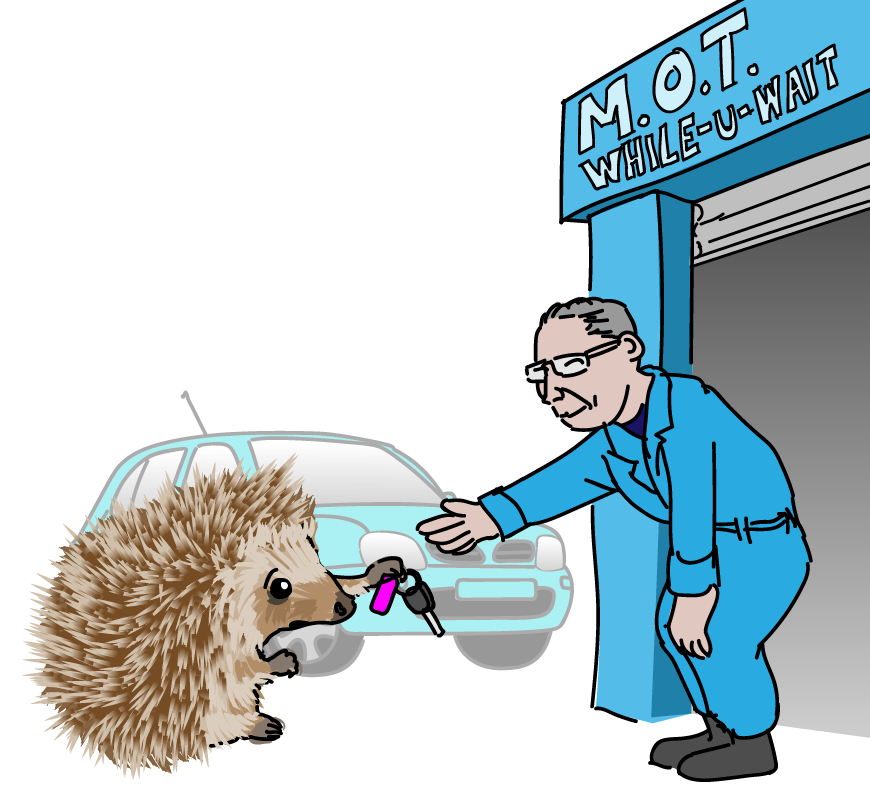
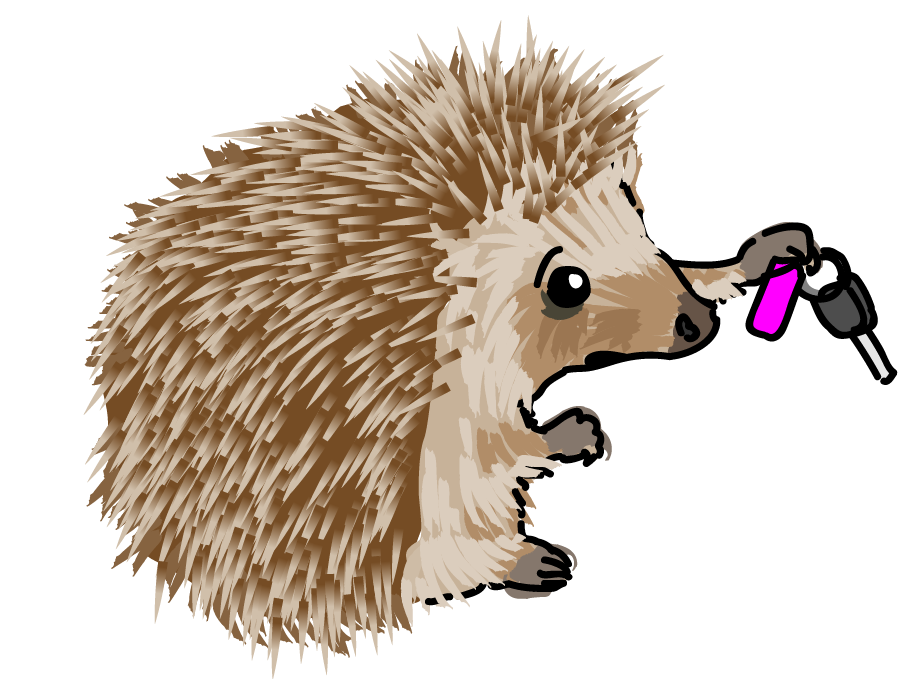
Recently I had occasion to draw a hedgehog tentatively handing his car in for an MOT, as hedgehogs sometimes need to do.

hedgehog-MOT-01

Doodling a hedgehog is simple enough, but how to take a holistic approach to drawing hundreds of spines? There are already a few different art brushes here to give his fur a bit of furriness, but I don’t think we want to be drawing an individual path for every spine too. Here’s how he looks without them:

nospines-02

At the moment he’s a sketch with a calligraphic brush (the black lines), filled shapes for the darker and lighter areas of his body (the brown shades), and some art brushes from Adobe’s Artistic_Paintbrush set to give him a bit of fluffyness (hedgehogs aren’t entirely spiny after all). So what tools do we have that can create and modify hundreds of objects at once?

The Symbol Sprayer tool!

Most approaches to drawing in Illustrator tend to be quite methodical — you draw in layers of discrete shapes, and people who come to it expecting to sketch and paint like they might in Photoshop can quickly hit brick walls with this approach. To me, the symbol sprayer always seemed a bit incongruous in this environment. What use could there be for something that randomly plasters your artboard in symbols? Well I finally found one. The key here is there is a set of tools behind the basic sprayer for modifying the symbol set (as it’s termed) after the fact. But firstly, we need a symbol to work with.

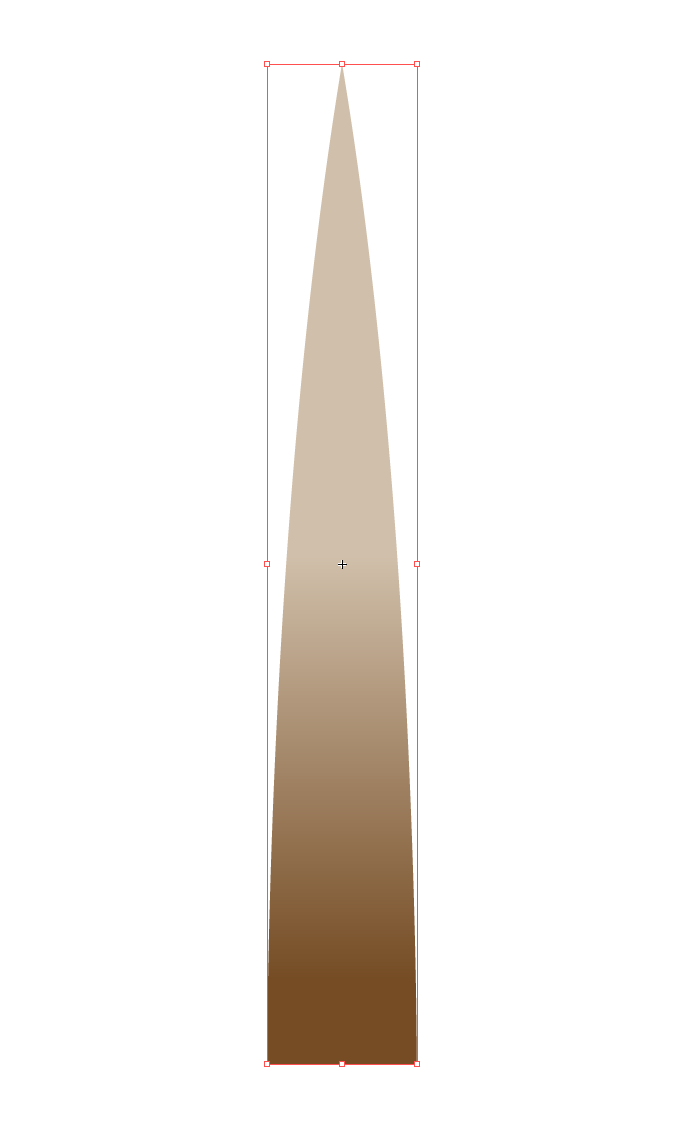
spine

This is just a symmetrical shape with a gradient fill, a couple of millimetres wide in our A4 document. Now we can get spraying.

spray

Go nuts with it. Set the density options (double-click on the tool) as high as they go and cover him. Use the square bracket keys to increase or decrease the size of the brush. Here the spin (rotation) is set to ‘User Defined’, so it initially appears random. After that it’s time for the scruncher.

scrunch-shift

This drags symbols towards the centre of the brush. Use it to pull any outliers into the large brown area of his back. Spray and scrunch until you have a decent density of spines, and your hedgehog will either have absurdly neat upright spines (if you left Spin as ‘Average’) or a complete mess (if you set Spin to ‘User defined’):

mess

I don’t think we can in good conscience leave him like that. Next up is the Symbol Spinner. This tool drags symbols to face the direction of movement of the brush cursor, so you can effectively comb him by dragging the cursor over the symbol set. Note the direction arrows that appear on symbols within the brush area:

brush

Just keep brushing him down until you have a nice neat hedgehog, who might feel a bit more confident about getting his car back:

neat

Slings and arrowheads

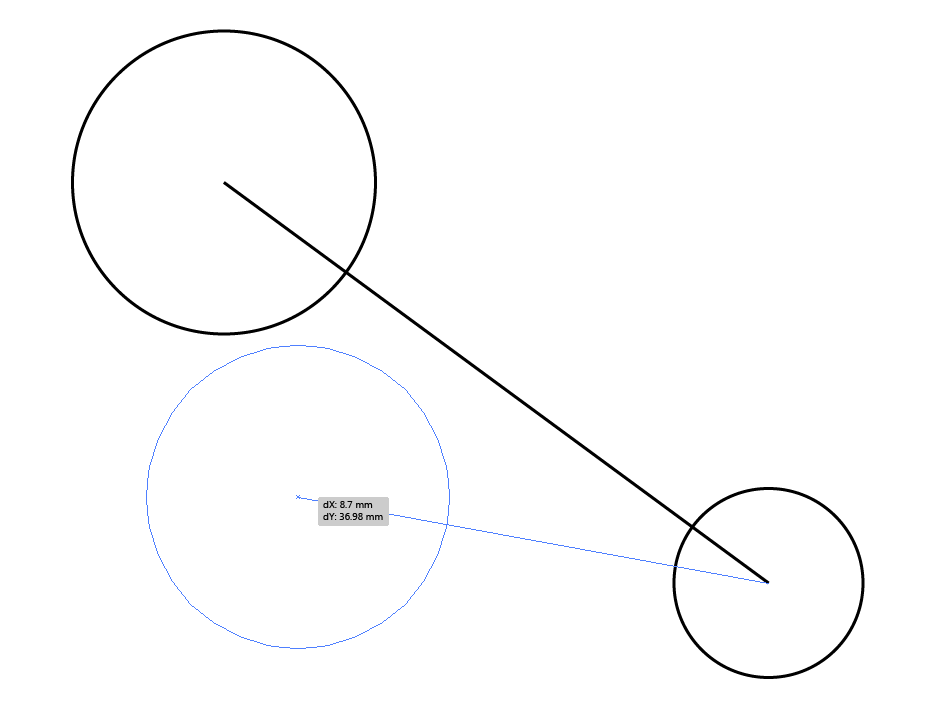
I’ve seen a few posts on the Adobe forums from time to time asking how one might ‘attach’ objects or symbols to path endpoints (or anchor points in general), so that you might have elements that move as you move points around.

arrowheads1

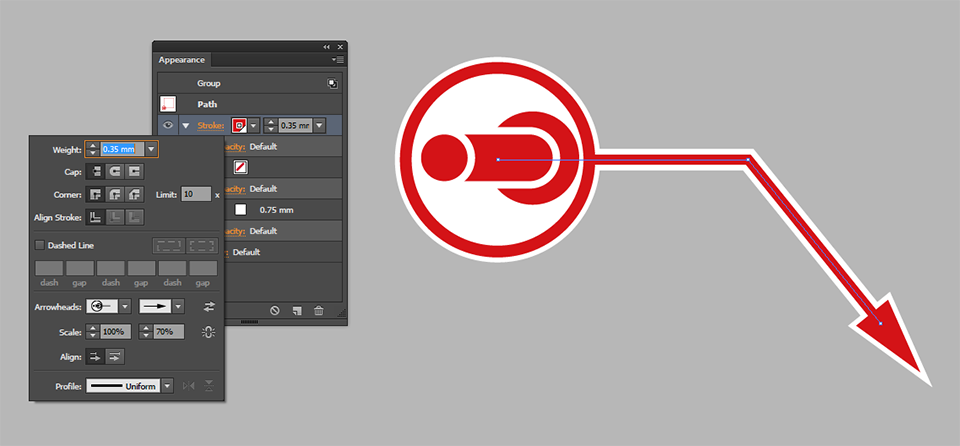
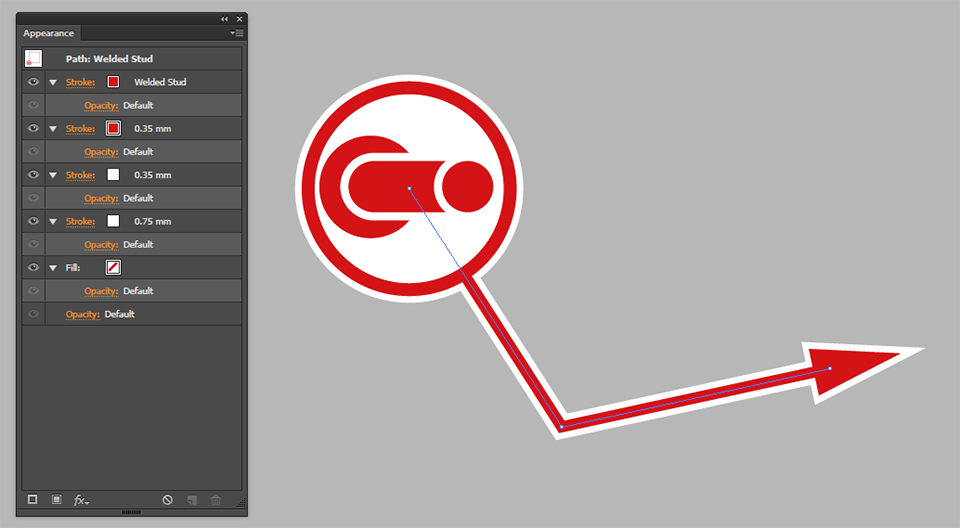
Like a lot of things in Illustrator, this isn’t really possible, but there are a number of odd ways you can accomplish things that might do the job well enough. I had a need to do something similar at work; producing a sort of annotation symbol for use by people who didn’t really have any Illustrator expertise, so it needed to be as simple as possible to manipulate. I went with custom arrowheads.

arrowheads2

I’ve got the appearance and stroke open there so you can see what’s going on. If you don’t know how to create your own arrowheads, Adobe provide the bare minimum of information here. There’s more info in the arrowheads file itself, but nevertheless there are a bunch of odd pitfalls and ways of going wrong, exacerbated as I was a CC user making an arrowheads file for CS5 users too. But after a bit of a struggle I had a nice bunch they could use, with some caveats. Ideally I didn’t want anyone moving the leader line from the horizontal, as this would happen:

arrowheads3

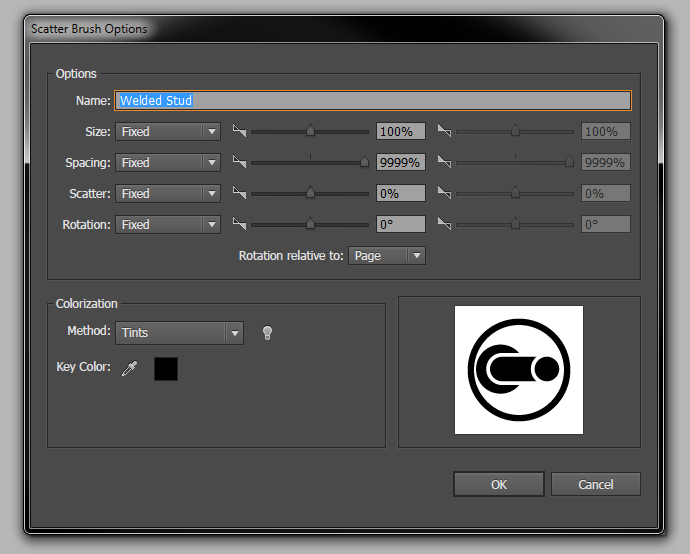
…and having symbols flying off at different angles just looked kind of unprofessional. So I was left trying to figure out a way of having a symbol stuck to one end of a path that maintained its rotation relative to the page, rather than the path. The clue to what I did is in the wording there. It’s a silly method, but within the confines of the page we use it works perfectly. Scatter brushes!

arrowheads4

Note the spacing: 9999%. This means you’ll see one instance of the brush every 100 times the maximum dimension of the brush object. Over half a metre in this case! More than we’ll ever need in a document 100 mm wide. The other key option is to have the rotation set relative to the page, so it won’t rotate as you change the angle of the path. This means although this is rather an awkward solution, the users shouldn’t see any difference, except the style now works as they wanted. Here’s the new path with its appearance:

arrowheads5

The top stroke has the scatter brush applied, the next has the arrowhead at the other end and the red swatch. The next two define the white backing to the stroke and the arrowheads respectively.