
One of the most common questions people ask about Illustrator is: how do I make my custom swatches and styles available in all my documents?
If you just want the answer, scroll all the way to the bottom (or click here) and follow the steps. But if you want some background and a more complete understanding of the processes involved, just read on.
Most probably already know you can make libraries, but I’ll quickly go over those to start us off. A library file is simply an Illustrator file (apart from ASE files; which are transferrable between Illustrator, InDesign, and PhotoShop, but that’s another story). If you pay a visit to the menu of your document swatches panel and open any random AI file from the ‘Open Swatch Library’ option, a library will open containing the swatches from that document. This works the same for opening brush libraries, graphic styles, and symbols.
But opening a library file doesn’t affect the swatches, styles, or brushes in the document you’re working on: all you’ve done is open a small portion of another AI file in a separate panel. If you select a swatch from that library, it will add itself to your open document, but until you do that the swatch doesn’t exist for the purposes of things like Recolor Artwork or setting up actions.
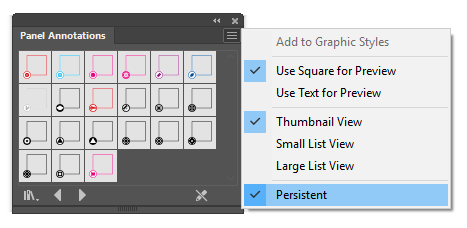
If you’ve used libraries in this way, you might have noticed that the panels disappear when you close and reopen Illustrator. There’s a simple tick box marked ‘Persistent’ in the menu for library panels that solves this, assuming there are libraries you will always want open.
If you want libraries to be quickly accessible, but not necessarily permanently on-screen, they can be accessed via the Window menu if they are stored in specific locations. At the bottom of the Window menu, you’ll see sub-menus for Brush, Graphic Style, Swatch, and Symbol libraries.
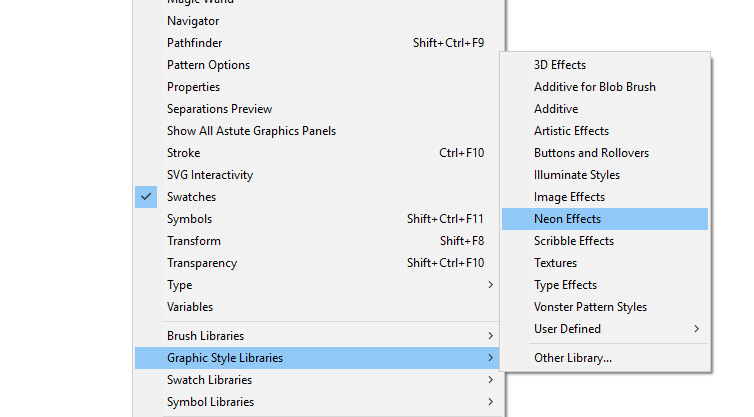
Any libraries stored in the relevant folder at the following file paths will be available in these menus:
Windows 10: C:\Program Files\Adobe\Adobe Illustrator CC 2019\Presets\en_XX
Mac OS 10.13: Macintosh HD/Applications/Adobe Illustrator CC 2019/Presets/en_XX
(Where ‘en_XX’ is your language version: mine would be en_GB; a USA user en_US)
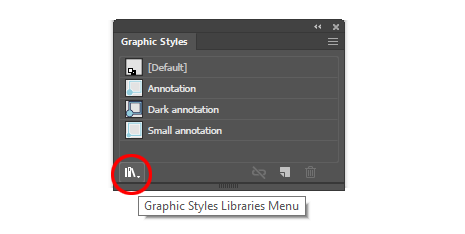
These files are also available from the libraries button at the bottom of each panel.
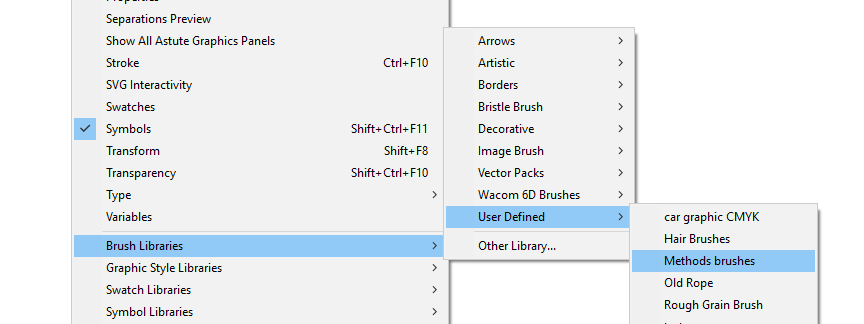
There is one small problem with storing library files in this location: when you update Illustrator through a major version change, these files won’t be transferred between versions! If you keep libraries here, you need to be prepared to keep the previous version of Illustrator around and transfer your old library files to the new on manually. To get around this, you can keep files in a separate location in your user directory. At the bottom of these menus, you’ll see a submenu called ‘User Defined’. This points to the following file paths:
Windows 10: C:\Users\Username\AppData\Roaming\Adobe\Adobe Illustrator XX Settings\en_XX\x64
Mac OS 10.13: User/Library/Application Support/Adobe/Adobe Illustrator XX/en_XX/
(Where ‘en_XX’ is your installed language version and ‘Adobe Illustrator XX’ is your Illustrator version: the 2019 version of Illustrator is 23)
Here you will see folders for Brushes, Graphic Styles, Swatches, and Symbols, among other assorted settings. Library files stored in these folders will be visible under ‘User Defined’.
While libraries are very useful things for organising sets of styles and swatches, each still exists separately from whatever Illustrator document you have open until you manually add it. What if you want a particular swatch, for instance, to be available in every new document you create from the start?
Let’s go back to that user directory folder. In it, you’ll see a folder called ‘New Document Profiles’.
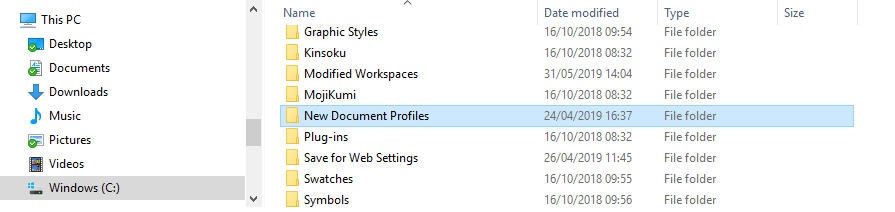
If you open that, you’ll see a selection of Ai files named things like ‘Art & Illustration’, or ‘Mobile’. You might recognise them from the ‘New Document’ options window in Illustrator. They are document profiles, and they form the basis of every new file you make.
In a similar way to libraries, document profiles are just regular AI files. When you tell Illustrator you want it to create a new document, it gives you a set of choices based on the files in this folder. A new document will ignore layers and actual vector content, but will use the artboard size, the colour mode, and (crucially) the styles and swatches from the document profile you select. You can probably see now how you’re going to proceed: either save an AI file to this folder to use as your preferred new document profile, or update one of the existing files to contain your swatch or style preferences.
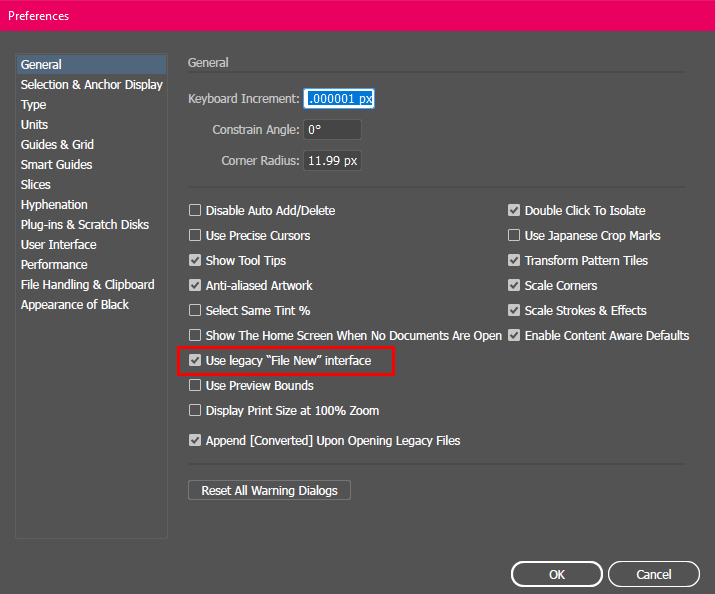
Before CC 2015 or thereabouts, selecting a new document profile was rather simple. A drop-down list was available with each file in this folder listed. Choose one, and its artboard settings and colour mode are applied (though you may change them), and all its styles and swatches are available when the document is open. It still is this simple if you choose “Use legacy ‘File New’ interface” in the Illustrator preferences.
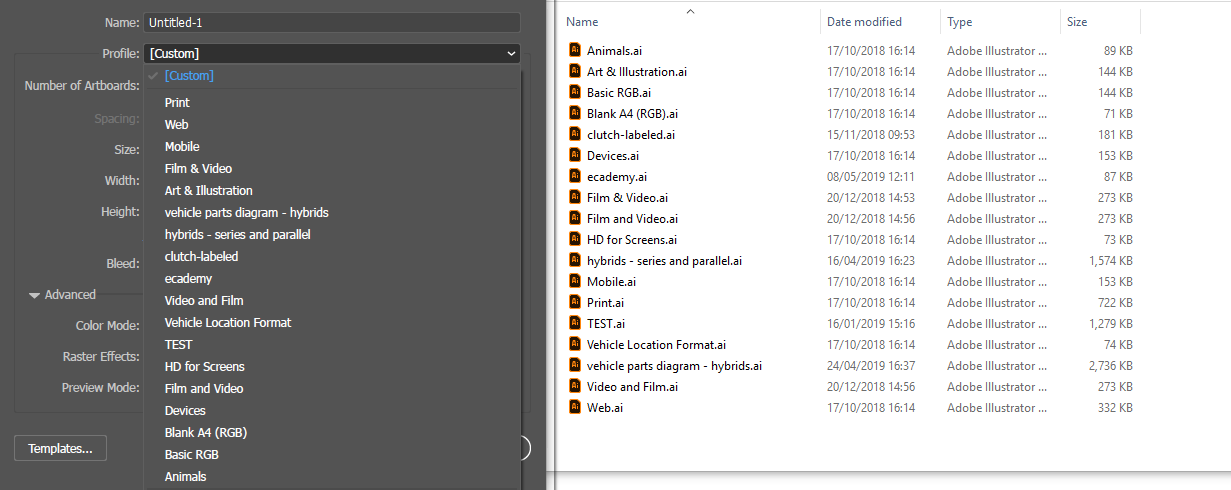
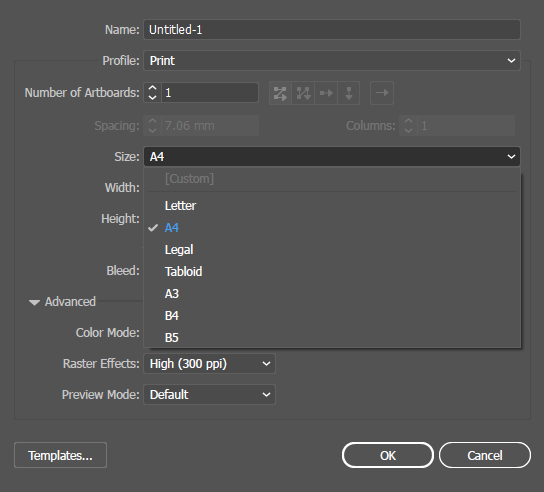
Around version CC 2015, a new ‘File New’ window was introduced across PhotoShop, InDesign, and Illustrator. It’s a bit flashier, and muddies the waters when selecting a document profile somewhat. They’re all still present, but they are lumped in with the ‘Size’ choices. Note that in the old-style window, the document ‘size’ is a list of preset sizes associated with each profile, so the ‘Print’ profile has these sizes associated with it (if you create a new document profile, it’ll inherit these from the original file it was based on):
In the new-style window, first we choose a category. This is equivalent to choosing one of the document profiles supplied with Illustrator. The preset sizes are visible as buttons in this category.

You’ll also see Adobe Stock templates, but we will ignore those of course. Click ‘View All Presets’ and the rest of the size options appear, plus any document profiles you have created from the ‘master’ file for that category.
Note that the ‘master’ file doesn’t appear except as a category to choose sizes from, but any new document profiles you make will appear.
In this example, I have made a document profile named ‘TEST’ from the print preset and saved it to the document profiles folder:

You can tell it apart from the size presets by the icon:

A document profile icon 
An icon for a Print’ size preset
Each category (or ‘master’ document profile) has its own icon for size presets. Above is the icon for print; ‘Mobile’ uses a phone; ‘Film & Video’ a screen with a play symbol; you get the idea. But regardless of category, document profiles will have the pencil and ruler icon above.
If you’ve been following closely, you should be able to see how you can start any new document with your preferred set of swatches or styles, but I will attempt to summarise it in steps.
- Create a new document in Illustrator. Choose the existing document profile that best suits your needs; for instance, choose a Print profile if you’re going to be using CMYK colour and physical units of measurement such as inches.
- With your new blank document open, add any swatches, graphic styles, brushes, or symbols you want to include, from existing libraries or other documents. You can do this by simply clicking on a style or swatch in a library window.
- Add or create any character or paragraph styles you want to use.
- Change the artboard size if you wish.
- Save your file to this location:
- Windows 10: C:\Users\Username\AppData\Roaming\Adobe\Adobe Illustrator XX Settings\en_XX\x64\New Document Profiles
- Mac OS 10.13: User/Library/Application Support/Adobe/Adobe Illustrator XX/en_XX/New Document Profiles
- The next time you start a new document, choose your document profile from the drop-down list in the old-style window, or from the category of the profile it was created from in the new-style window. You’ll see all the swatches and styles you added right from the start.

Pingback: How do I create a custom preset in Illustrator?