Most posts on Illustrator tools focus on the things they can do. I’m going to focus on what a tool can’t do.
The eraser attracts new users because it seems like it should be familiar from pixel-based software like PhotoShop and Paint. You draw things, you erase things — simple, right? But then of course the eraser becomes a large source of frustration, because it doesn’t work as you might expect. The reasons for this are found in some fundamental ways in which Illustrator works, which I’ll also go into. But first, a few scenarios where you might think an eraser tool would be useful.
Erase rounded path ends or mitered corners


Sometimes you’ll end up with path end caps protruding from the edge of your illustration, or an excessive miter jutting out that you’d like to lop off, and need a way to shave them.
Erase part of an art brush
Illustrator comes with a bunch of nice painterly brushes, but sometimes you’re going to want to cut back into them and selectively erase long tails or otherwise neaten them up. Maybe you’re used to doing similar things in PhotoShop.
Erase the stroke on one side of a square

Probably a common thought: how can I get rid of only one side of a square, or part of another shape? Seems logical to just erase it, right?
Some bad news
The bad news is that the eraser tool can’t do any of these things! Not exactly as described, anyway.
You might justifiably ask: what is the point of it then? What can it do? The answers will be, I’m afraid, disappointing for most. But first I’ll discuss why it can’t do these things. As I said earlier, it involves a core concept in Illustrator: the difference between Objects and Appearances.
Objects and Appearances
If you use Outline mode (found under the View menu, or Command/Control + Y), Illustrator presents you with the skeleton of whatever you’re drawing.

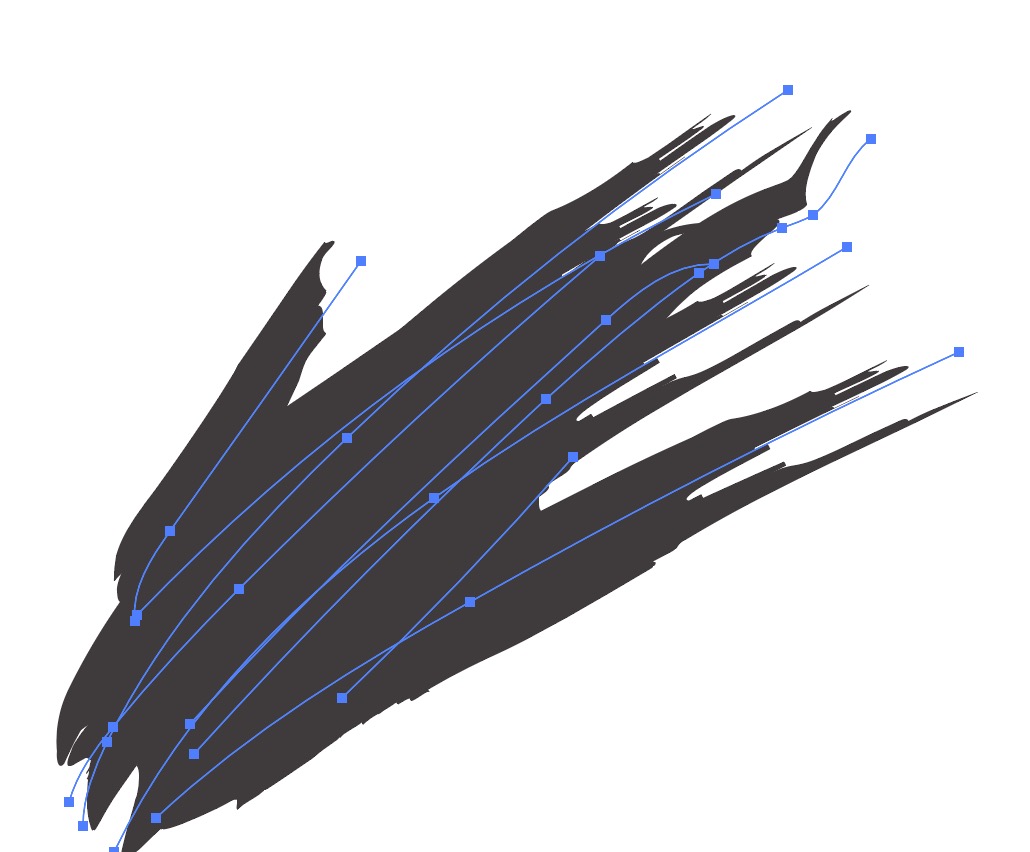
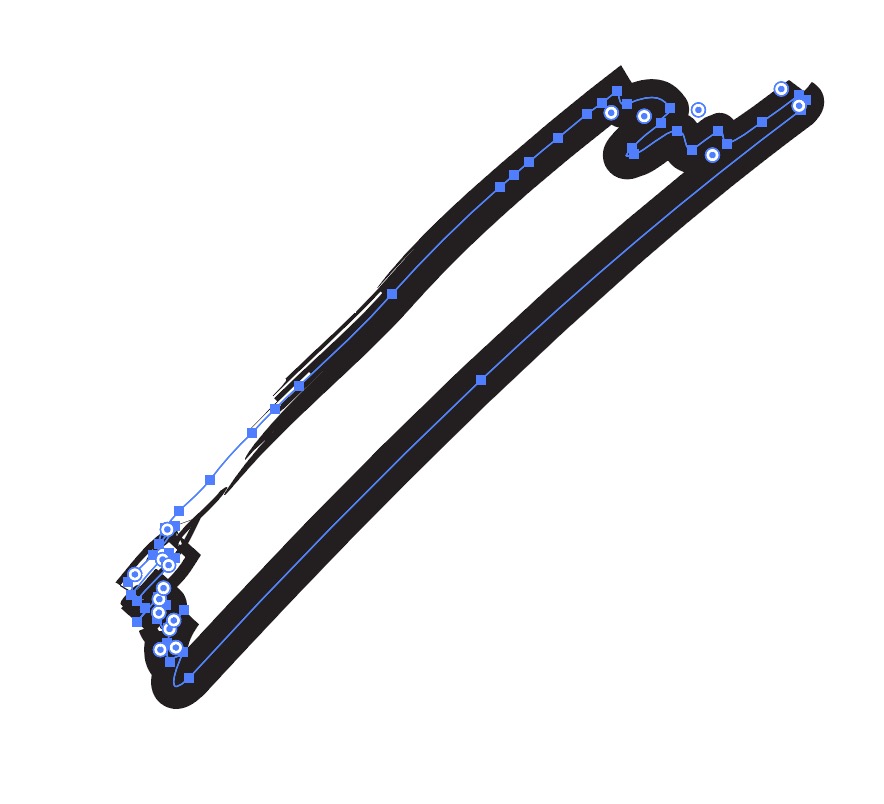
It’s a series of paths that have no visual information except a pixel-width line. The things you can no longer see are called appearances — everything you might find listed in the Appearance panel when you select an object. Consider this brush as another example:

The actual object here is the path going through the centre of the brushstroke; the brush itself is an appearance. What else is an appearance? Well, pretty much everything except the path: a fill, a stroke, a pattern brush, and a 3D extrude effect are all appearances. Almost everything you can see in Illustrator’s regular view mode (Preview) is an appearance.
As far as Illustrator is concerned, appearances aren’t ‘real’ objects — they only exist in relation to the path they’re applied to, and change dynamically as the object is moved or edited. You can nail them down by ‘expanding’ them, after which they become ‘real’ objects and can in turn have their own appearances applied. If I expand the brush above, I can then apply a brush to the outline of the brush, for instance.
How does this relate to the capabilities of the eraser? You might have already guessed, but just in case:
The eraser tool affects paths, not appearances.
It can’t affect a brush, a miter on a stroke, a rounded end, or anyting else that isn’t a path. You could erase parts of the underlying path in each of those situations, but the appearance would just be redrawn to match the new path. Let’s consider a few situations that commonly result in confusion for new users.
Problem 1: The eraser tool doesn’t erase my path cleanly


When you drag the eraser over a path, it creates a nice clean break — exactly what you’d expect from pixel software. But then you let go, and the nice clean break vanishes! It should be fairly clear what’s happened here from the second image. Your original path is quite thick and has rounded ends. The eraser has cut the path in two — and now you have two paths that have the same appearance as he first, including the rounded ends that encroach on the break you made.
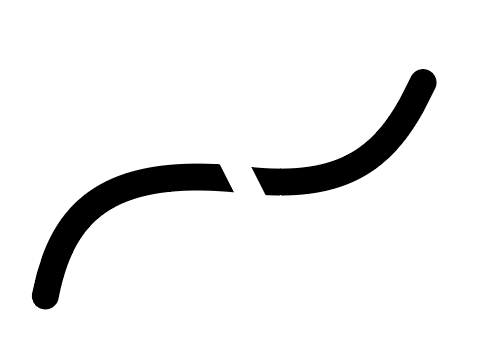
This will also be true if you try and erase part of a path that has a brush applied:


Run the eraser through the centre of this path with an art brush applied, and you now have two shorter paths each with the same complete brushstroke.
Problem 2: The eraser draws on my objects!


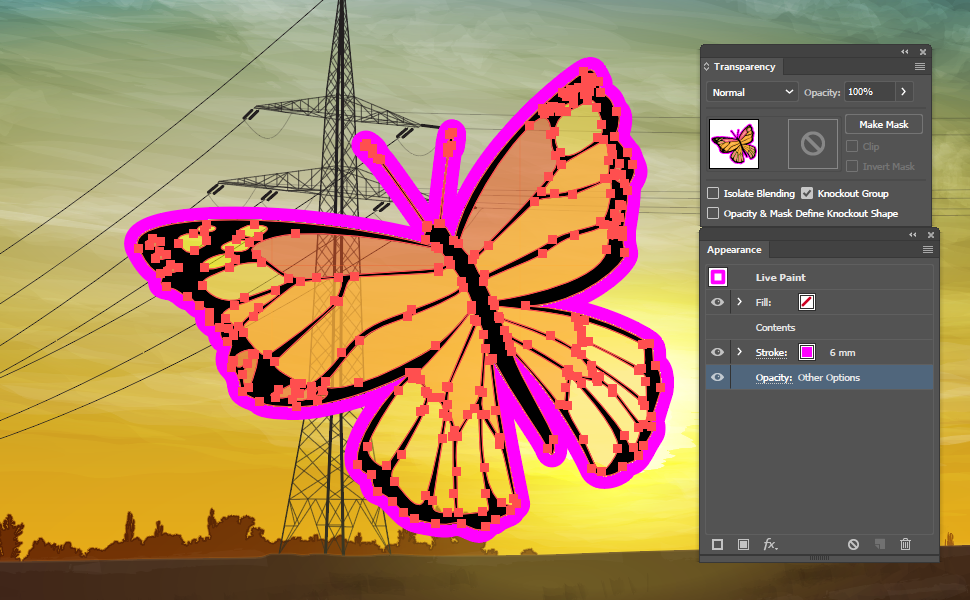
You scrub over a filled object with the eraser, but it ends up like the image on the left. What’s up with that? Just as before, the eraser is gouging out sections of an object that has a thick black stroke and a magenta fill applied. Where it bisects the object, it’ll create other objects with the same stroke and fill, so it’ll almost appear to be creating things rather than erasing them.
There’s a quirk of this in that it affects closed objects without a fill in the exact same way — so it seems like you can draw in completely blank space with the eraser, if it’s inside a shape with a stroke applied! This was created just by scribbling in the centre of the square with the eraser:
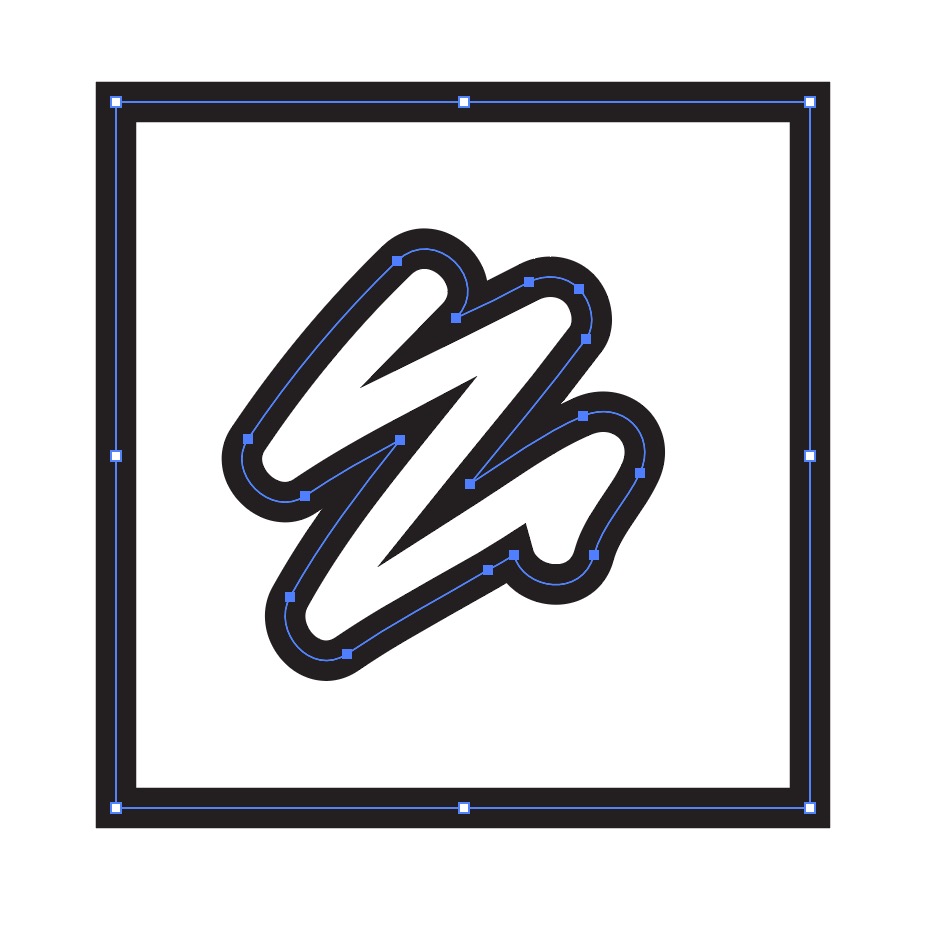

You can see what’s happening if I apply color to the result (right): it’s created a compound path from the ‘erased’ part, and the central part inherits the stroke from the original object.
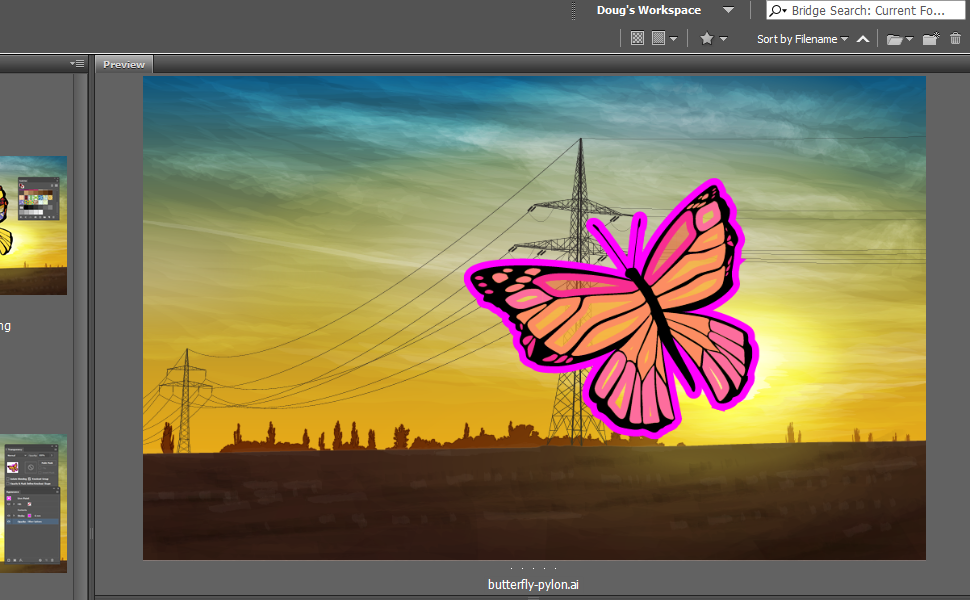
Problem 3: The eraser closes my paths!

This only occurs if the original path has a fill (in this case a white fill). This is a common situation for new users because most Illustrator document profiles have a default graphic style that is a black stroke and white fill, and you might not notice the white fill unless you’re drawing on top of something. This is what the path looks like if we change the fill to red:

For some reason, instead of creating two open paths with the same fill and stroke, using the eraser unexpectedly closes the paths. I can’t think of a reason this would be desirable, but there it is.
So what is the eraser good for?
Very few situations, in my opinion. The common reasons a user might reach for the eraser tool in other software are best dealt with in Illustrator by masking, or as a last resort expanding appearances and directly editing them (but you’d better be certain that’s what you want before you do it).
If you’re dealing with objects that have a simple fill and no stroke or other appearance attributes to worry about, you might find it intuitive and simple to use the eraser. For instance, if you commonly paint with the blob brush, you might find the eraser a suitable counterpart. The blob brush is sort of like an eraser in reverse: it paints filled shapes with a calligraphic brush, which you could then cut back into with the eraser in predictable ways.

If you have an object selected, the eraser will only work on that, so it might be nice to neaten up your colouring under linework (if you have nothing selected, it’ll work on everything, so take care). But really, that’s about it.